How Do You Set Up A Rooftop Tent?
Setting up a rooftop tent may seem like a daunting task, but with the right knowledge and preparation, it can actually be quite simple and convenient. In this article, I will guide you through the step-by-step process of setting up a rooftop tent, so you can enjoy a comfortable and hassle-free camping experience.
Choosing the Right Location
Before you start setting up your rooftop tent, it’s important to choose the right location for it. Look for a flat and stable surface where you can safely park your vehicle and set up the tent. Make sure there are no overhead obstructions, such as trees or power lines, that could interfere with the setup or cause damage to the tent.
Positioning Your Vehicle
Once you have found the perfect location, position your vehicle so that it is parked parallel to the direction of the wind. This will help prevent the tent from being buffeted by strong winds during the night. Make sure the vehicle is on level ground to ensure a stable and comfortable setup.
Securing the Tent to Your Vehicle
Depending on the type of rooftop tent you have, there are different ways to secure it to your vehicle. Most rooftop tents come with mounting brackets that attach to the roof rack of your vehicle. Make sure the brackets are securely fastened and that the tent is properly aligned before proceeding with the setup.
Opening the Tent
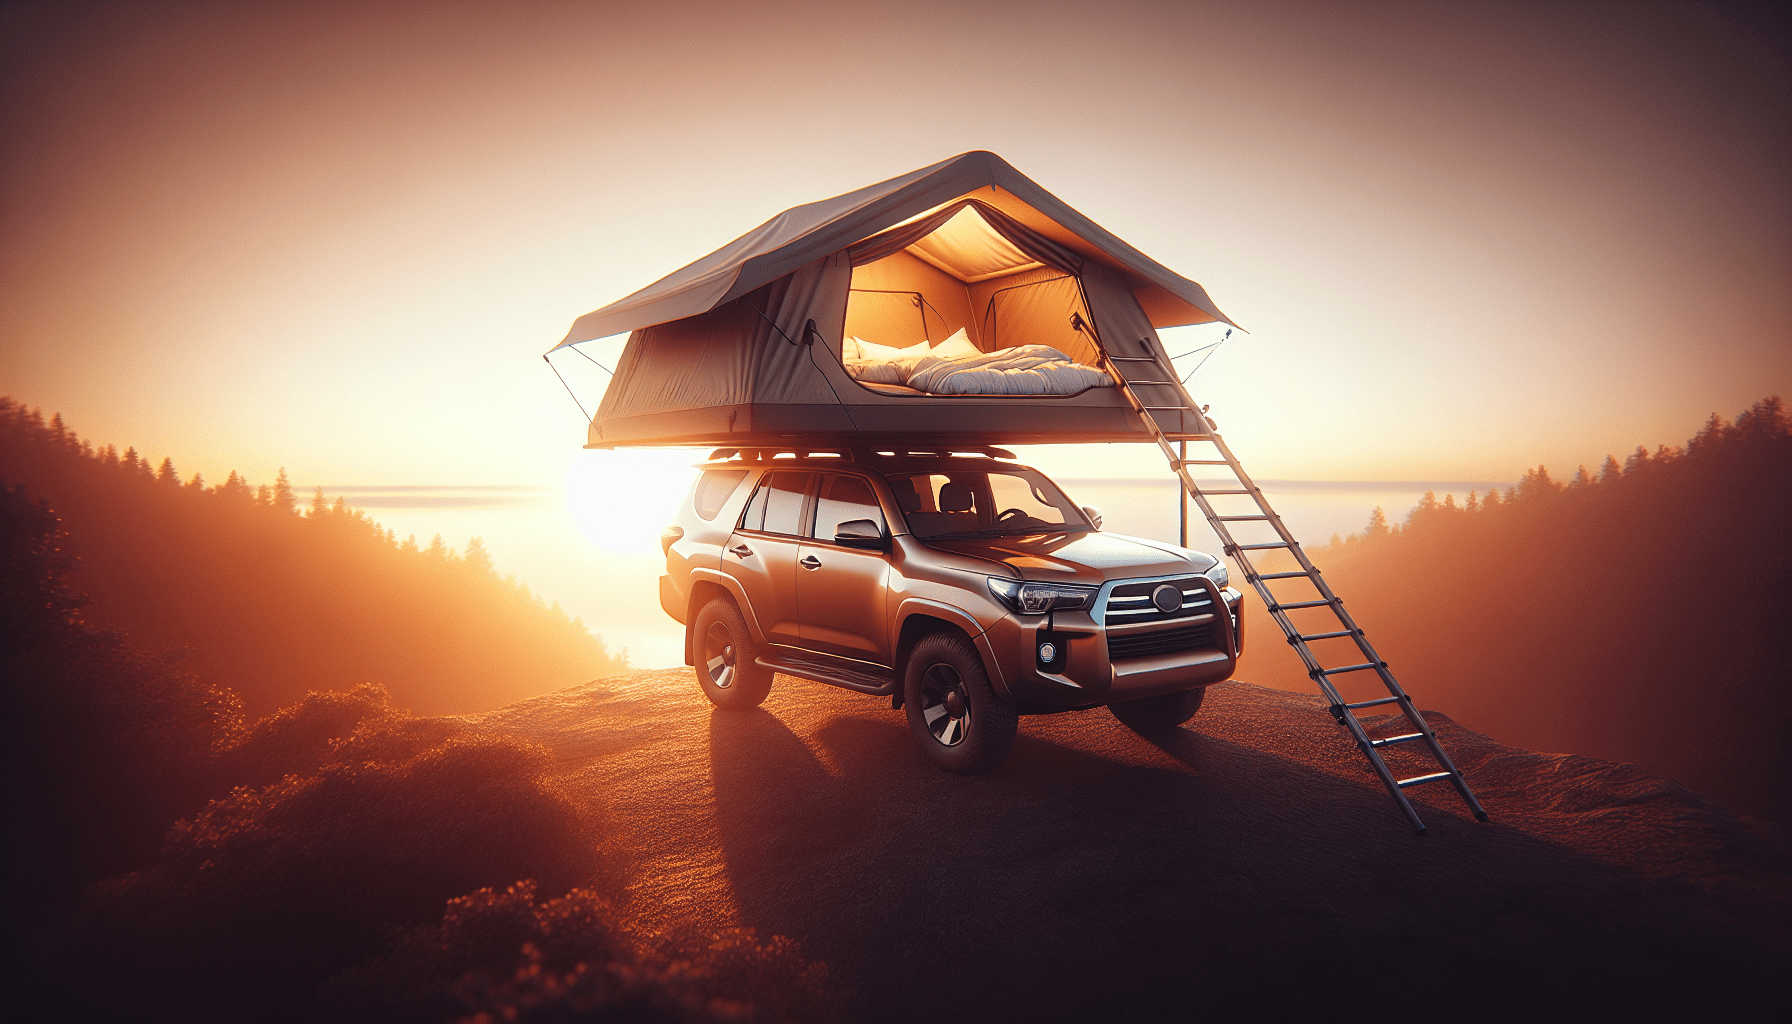
Now it’s time to open the rooftop tent and prepare it for use. Depending on the design of your tent, there may be different steps involved in opening it. Generally, you will need to release any straps or latches that are securing the tent in its closed position, and then gently lift it open until it is fully extended.
Setting Up the Ladder
Many rooftop tents come with a folding ladder that is used to access the tent from the ground. Make sure the ladder is securely attached to the tent and extended to the correct height before climbing up. Test the stability of the ladder before putting your full weight on it to avoid any accidents.
Installing the Rain Fly
A rain fly is a waterproof cover that can be installed over the roof of the tent to provide additional protection from the elements. If your rooftop tent comes with a rain fly, make sure to install it according to the manufacturer’s instructions. This will help keep you dry and comfortable in case of rainy weather.
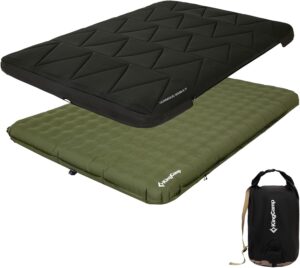
Adding Bedding and Accessories
Once the basic setup of the rooftop tent is complete, it’s time to add bedding and any additional accessories you may need for a comfortable night’s sleep. Make sure to bring along warm blankets or sleeping bags, pillows, and any other bedding essentials. You can also consider adding lights, storage pockets, or other accessories to customize your setup.
Safety Tips for Rooftop Camping
While rooftop camping can be a unique and enjoyable experience, it’s important to prioritize safety at all times. Here are some safety tips to keep in mind when setting up and using a rooftop tent:
- Always double-check the stability of the tent and ladder before climbing up or using the tent.
- Be cautious when moving around inside the rooftop tent to avoid accidents or injuries.
- Follow all manufacturer’s instructions and guidelines for setting up and using the tent.
- Secure any loose items or belongings to prevent them from falling off the roof of the vehicle.
- Check the weather forecast before heading out and be prepared for changing conditions.
Conclusion
Setting up a rooftop tent doesn’t have to be a complicated or intimidating process. By following the steps outlined in this article and taking the time to prepare and plan ahead, you can enjoy a comfortable and convenient camping experience wherever your adventures take you. Remember to always prioritize safety and follow best practices when setting up and using your rooftop tent. Happy camping!